Setup in ServiceNow SPO
For your integration between ServiceNow SPO and Fairmarkit, you will need to complete some configuration in ServiceNow SPO.
1. Install plug-ins
Install all of the following required plug-ins:
- ServiceNow IntegrationHub
- ServiceNow IntegrationHub Action Step - Rest
- ServiceNow IntegrationHub Action Step – JSON Build
- IntegrationHub Designer Core
- Import Sets REST IntegrationHub Support
- Source-to-Pay Integration Framework
- Finance Common Architecture
- Common Service Delivery
- Procurement Case Management
- Source-to-Pay Workspace
- Source-to-Pay Common Architecture
- Sourcing and Purchasing Automation
- Shopping Hub
- Centralized Connection and Credential
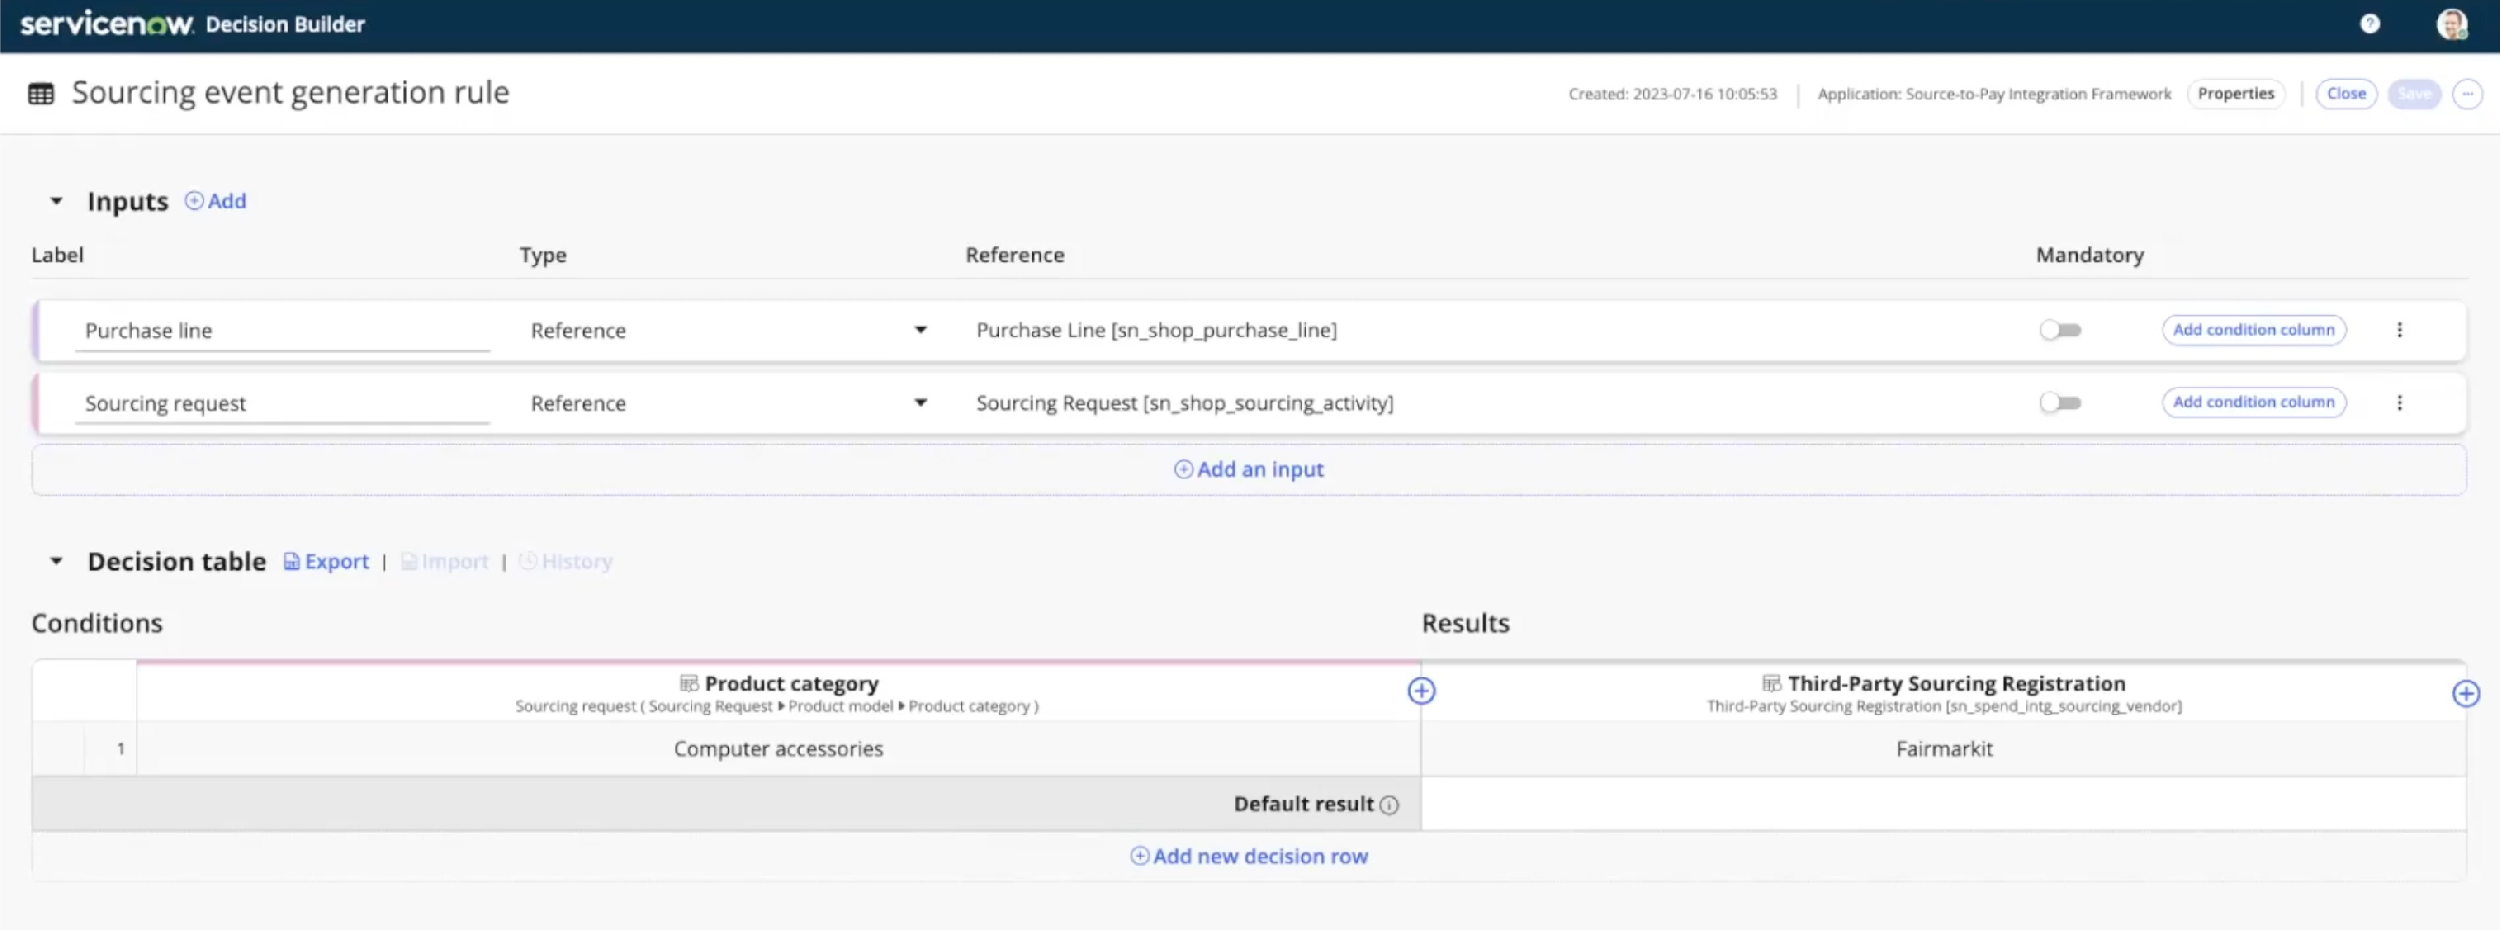
2. Define business criteria
Using the Decision Builder for the Sourcing-to-Pay Integration Framework, define the business criteria. This defines which service requests will be sent to the integration.
3. Create an OAuth Client
Create a new OAuth Client, which will be used to allow Fairmarkit to access your entity.
- Create a new OAuth Client (System Oauth - Application Registry (oauth_entity_list))
- Enter the following:
- Type: OAuth Client
- Name: Fairmakit Client
- Application: Fairmarkit (select from the list)
- Client secret: (generate some secret or leave blank to generate)
- Active: true
4. Create a Fairmarkit user
Create a Fairmarkit user, which will be used to access Fairmarkit.
- Create a new user (System Security - Users and Groups - Users (sys_user_list)).
- Set a user ID (username)
- The email and name can be blank.
- Save the user.
- Set a password for the user. Make sure to save the password for the next section.
- Disable password needs reset.
- Set the role for the user to sn_shop.procurement_administrator. This roles is needed to access the staging tables and modify third-party fields.
5. Share information with Fairmarkit
Share the following information with Fairmarkit:
- ServiceNow SPO hostname
- Credentials (created in steps 3 and 4)
- Username (user ID)
- Password
- Client id
- Client secret
- Email for default buyer user in Fairmarkit
This password is used to generate an access token. All request for quote events on the Fairmarkit side will be created by the account.
6. Configure with Fairmarkit
Once you share the information in the previous step, the Fairmarkit team will complete the necessary setup in Fairmarkit and give you the following:
- A permanent access token to access the Fairmarkit system from the ServiceNow application
- Fairmarkit accounts:
- Company account
- Administrator users (for the provided email)
- Buyer user (for the provided email)
7. Set the access token
After Fairmarkit provides the access token, you'll need to set it in ServiceNow SPO.
Add access token
Complete the following process for each:
- Go to Connection & Credentials - Connection & Credential Aliases.
- Go to Connection & Credentials - Credential.
- Click NEW.
- Select API Key Credentials.
- Enter a name for the token.
- In API Key, enter the token provided by the Fairmarkit team.
- Save a new token.
Update alias
Find an alias with the name FMKT and ID: x_fairm_fairmarkit.FMKT.
- Open this alias.
- Click to the New button on the connection.
- Enter the name FMKT connection.
- Select the Credentials label, and then select the token created in the previous step.
- Enter the following URLs:
- Dev integration: https://uat.fairmarkit.com/services/servicenow-connector/api/v1
- Staging integration: https://staging.fairmarkit.com/services/servicenow-connector/api/
- Production integration: https://app.fairmarkit.com/services/servicenow-connector/api/v1
- Set the flag to Active.